How to Use the Security Monitoring Application
Jan 21, 2026 • Tutorials & How-To Guides
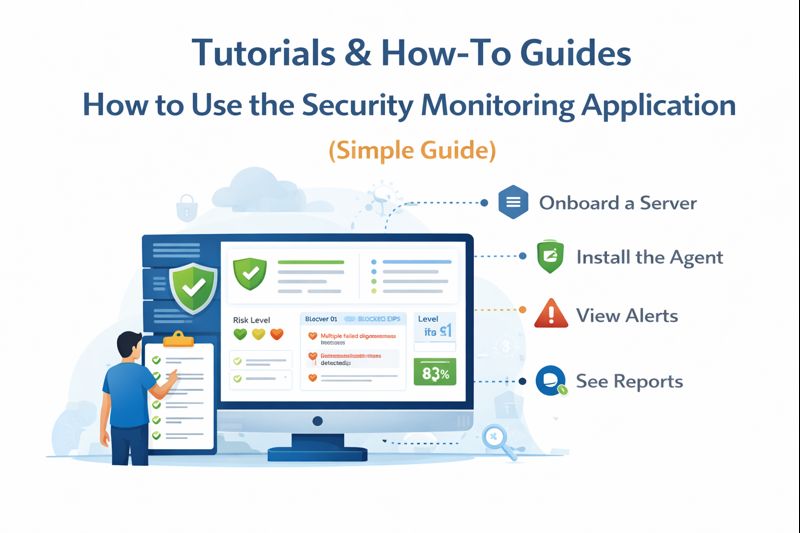
🧭 Overview: What Your Application Does
Your platform works like a central security control room:
- Each server has a small agent installed
- The agent watches the server silently
- Important events are sent to your dashboard
- You see alerts, risks, and status — not technical noise
No manual checking. No guesswork.
🧩 Step 1: Adding a Server (Client Onboarding)
What the user does:
- Logs into the dashboard
- Adds a new server entry
- Gets a unique secure token
What happens in the background:
- The token links the server to the dashboard
- No username or password sharing
- Each server is uniquely identified
👉 Result: Server is ready to be monitored safely.
⚙️ Step 2: Installing the Agent (One-Time Setup)
What the user sees:
- Simple installation steps
- No complex configuration
- Lightweight and fast
What the agent does:
- Starts monitoring automatically
- Runs quietly in the background
- Does not affect server performance
👉 Result: Monitoring begins immediately.
📡 Step 3: Understanding the Dashboard
Your dashboard is built for clarity, not complexity.
Main things users see:
- Server status (Healthy / Warning / Critical)
- Recent security alerts
- Login activity summary
- Blocked or suspicious IPs
- Risk level indicators
👉 Users don’t see logs — they see decisions and outcomes.
🚨 Step 4: Reading Alerts (Most Important Part)
When something unusual happens, the system shows an alert.
Alerts clearly explain:
- What happened
- Why it matters
- Risk level (Low / Medium / High)
- Suggested action (if needed)
Examples:
- “Multiple failed login attempts detected”
- “Suspicious access pattern blocked”
- “Unauthorized change detected”
👉 No technical terms. No confusion.
🔐 Step 5: Taking Action (If Required)
Most of the time, no action is needed.
When action is required, users may:
- Review the alert
- Confirm the activity
- Block or approve access (if enabled)
- Contact support with clear context
👉 The system already does the hard work.
📊 Step 6: Using Reports & History
Users can:
- View past incidents
- Track recurring risks
- Show security status to auditors or clients
- Prove proactive monitoring
This is especially useful for:
- Compliance
- Enterprise trust
- Internal reviews